
Happy end of year!

I have been helping out on the weekends at work and have had limited DIY time, but we've finally gotten some people to step up and help out. So I should be back to semi-regular posts in January.
I did get 7 days off (sorta) so I'm barreling through a few projects in the interim. This post is about try to update some storage options that had been left behind at the rental house. It's perfectly functional useful furniture, but needed an update. And while I think the owners will want to keep the updated version, I wanted it to be removable just in case.
The first project involves the master bathroom. I haven't really shown you photos, as I am in the process of updating it. So you'll see the full pictures eventually. For today, I wanted to focus on the over the toilet storage.
If you remember from the hall bathroom update post, I had originally tried to replace the current master bathroom storage with a cabinet that was too short to be above the toilet and had to be moved to the hall bathroom. It looks nice, but don't buy it. Putting it together nearly ended me.

So given the weird measurements of the master bathroom toilet, I had to work with the existing storage. Which took me a little time to conceptualize. Because...it's ugly.

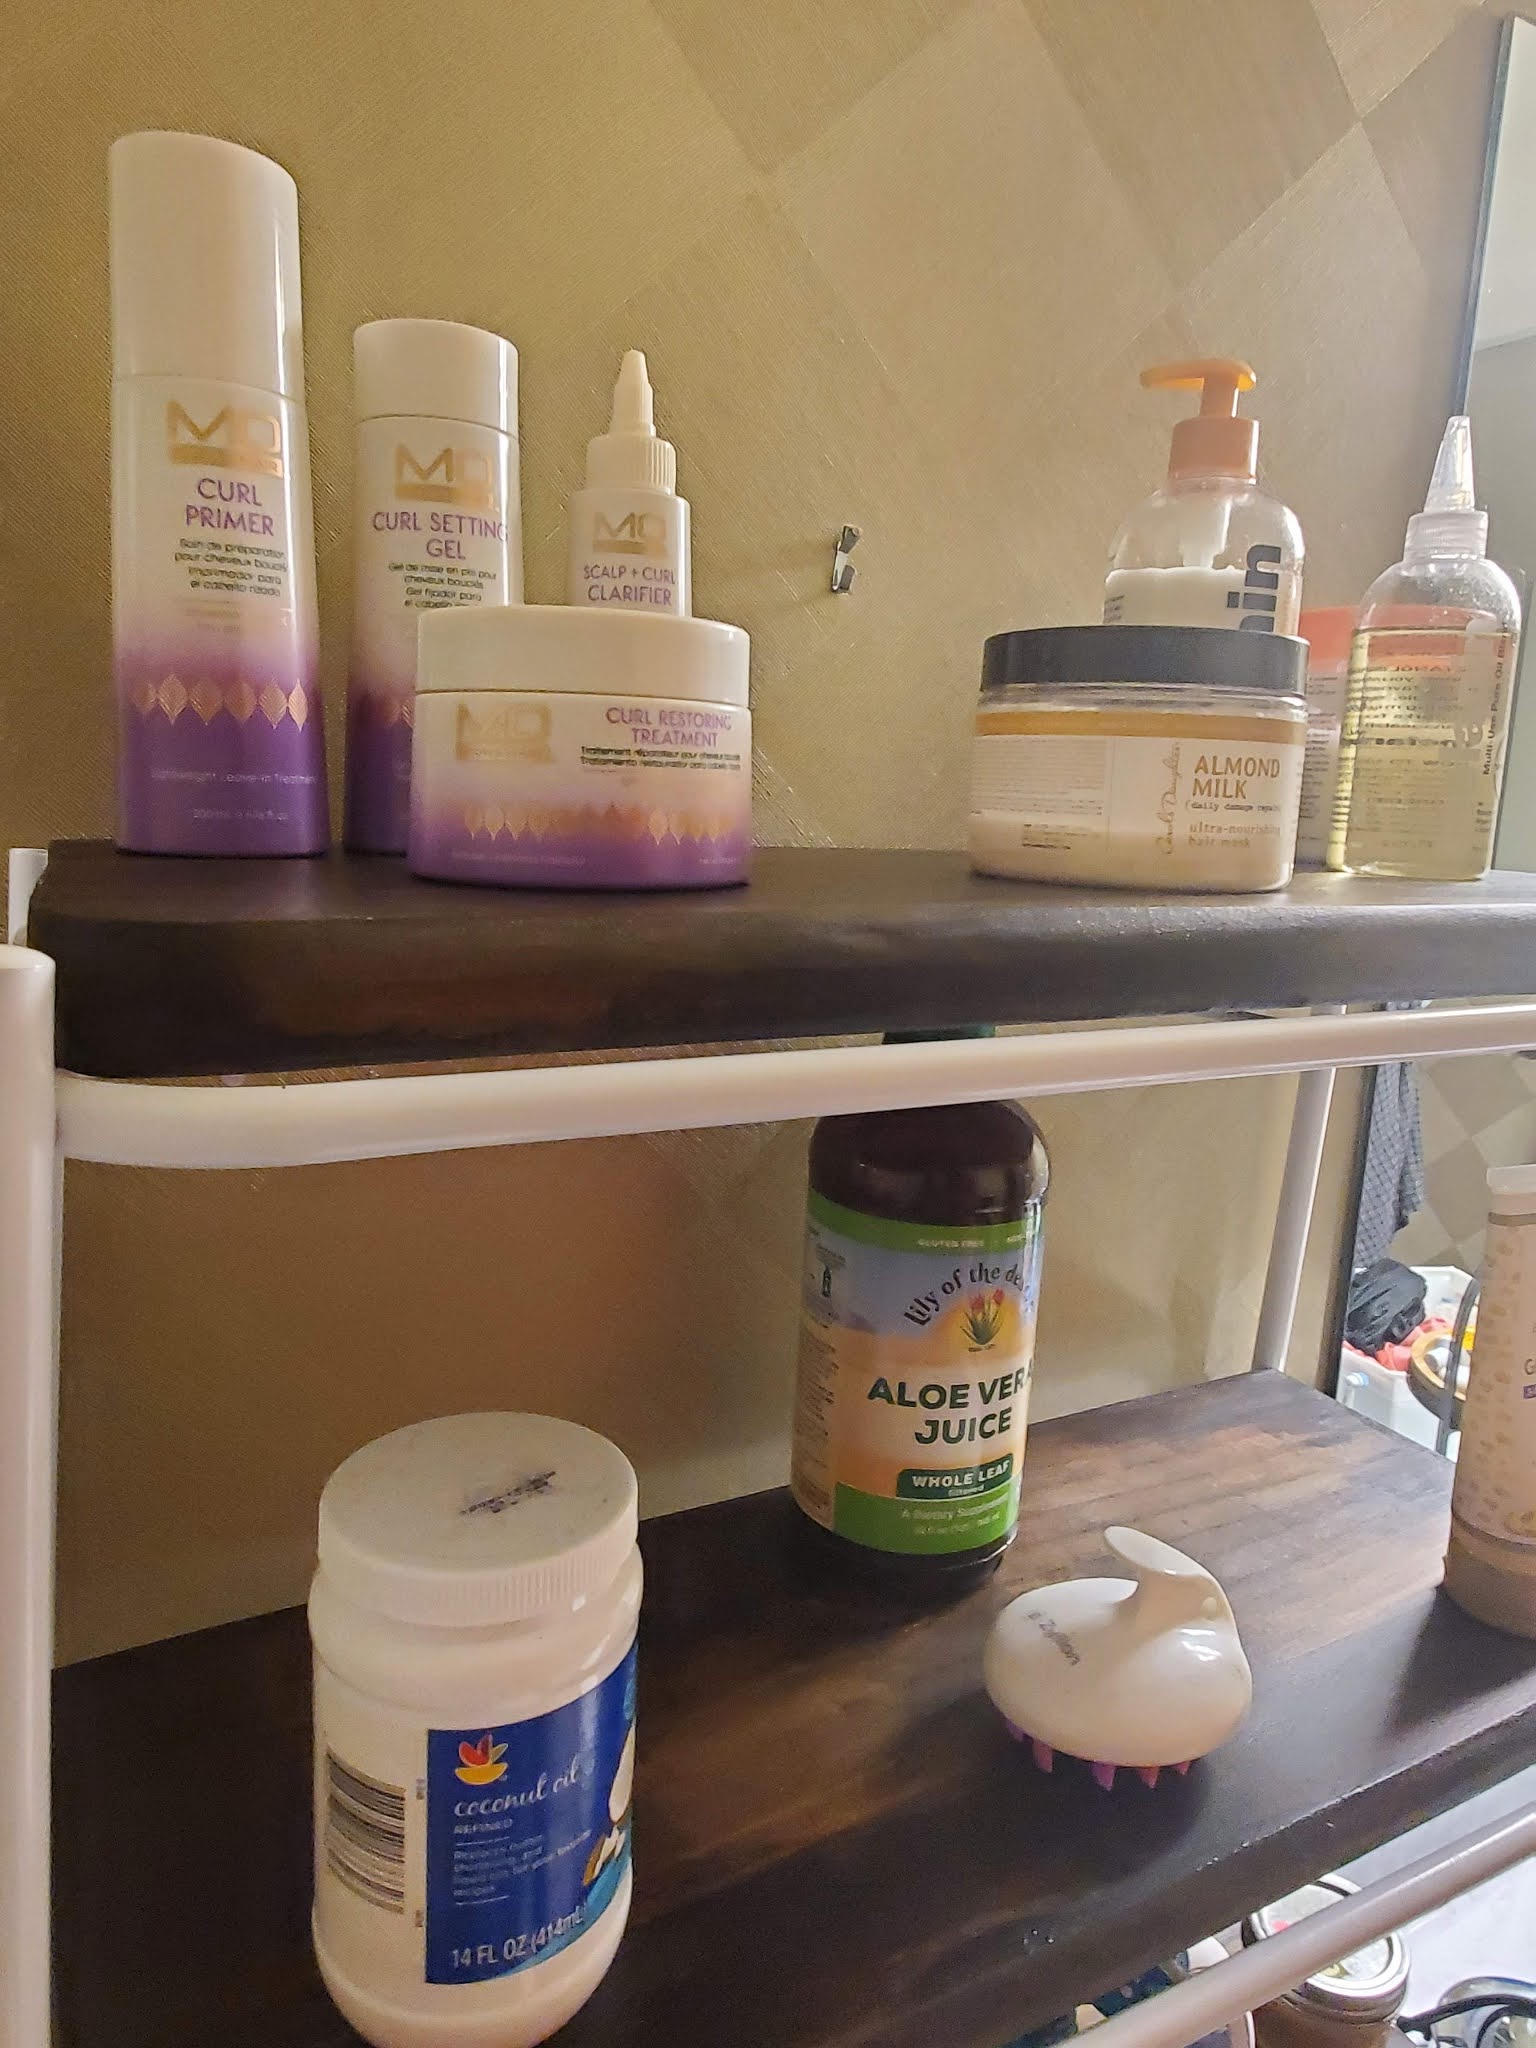
So as you may noticed in the above picture, I have A LOT of bathroom stuff. And there is a single sink with a single small cabinet for storage. So I pulled out some old IKEA storage baskets when we moved in and got all my stuff out.

These shelves were also metal wiring, which meant my products kept falling down if I tried to place them on the shelves directly. And there was about 2 to 3 inches of unused space the baskets weren't covering. So they needed a bit more function as well as beautification.
So, knowing I couldn't spray paint the metal, I got to work. I thought a wood base would allow more utilization of storage, but wanted thick wood shelves to try to overpower the ugly cheap white metal. I also needed the dated arch to go. I came across this post from Create/Enjoy where Suzannah used stair treads. This was GENIUS! Cheap, functional, stainable, and easy to rip down and sand to the size I needed for the shelving.

I think Suzannah cut off the curved edge but I liked it for this project (and the next project) and kept it. I did a dry fit with the cut down unstained boards. Turns out the arch was attached by two screws - GONE.


So. Much. Better. Right?
Next I tried to paint the treads. I only had a creamy white paint, which didn't look right again the shelf and toilet. So I switched gears and stained it dark walnut. Since the sink cabinet is a dark wood color, I though it would connect the two sides of the bathroom a little.
When staining, I used the dixie cups to keep it from sticking to the paper - a tip from Jenna Sue Design actually. So easy and so genius. And reusable!


And then...I decided to give things a try with the basement shelving alongside my desk. The shelves were...cheap ugly thin laminate dark wood (just like the bathroom vanity). They seemed to be almost bending under the weight of the printer and printer paper. And they certainly didn't look great against the dated wood paneling.
Now imaging working 10 to 12 hours days down here. Nope.


Coming soon - details on the bathroom transformations and office space. Plus...the catch-all room for the house is getting a make over!
Happy Holidays!
E