Hi!
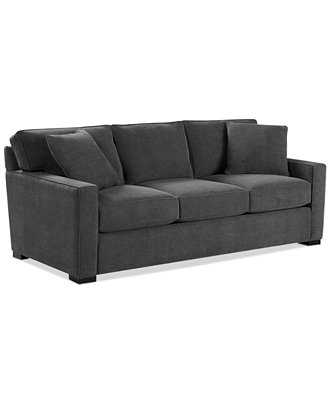
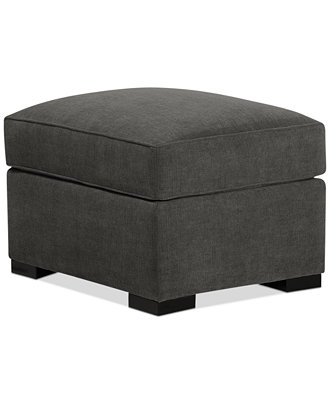
Our rowhome does not have a proper entryway, so you come in the door and have no where to drop your stuff. In our old place, we bought a storage ottoman similar to the one below but from Home Goods (the cats promptly peed in the tufts) and coat rack from Target which managed to corral most things without taking up too much space. It was a temporary solution.
There was not enough floor room for the ottoman to be by the door in the new place. We added a beautiful shoe tray from Target, which cost about $25 and will be a lifesaver this winter for our wood floors. We also added the console table.

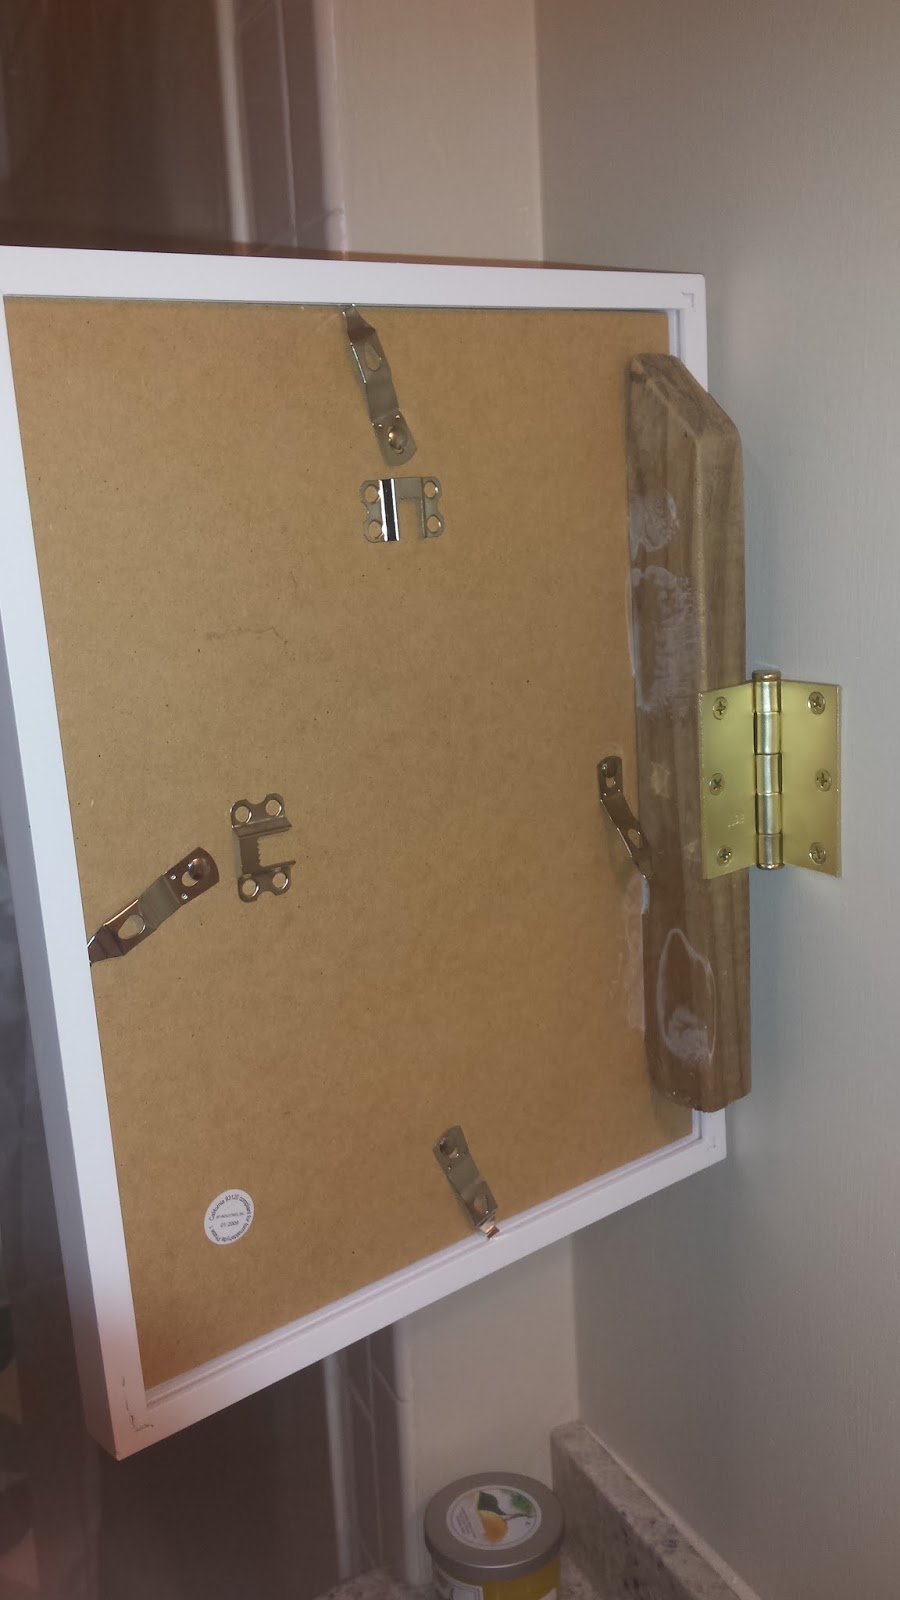
Between the tray, console table, and coat rack, floor space was pretty limited by the front door. I also desperately wanted a mirror there, for vanity purposes. One last primp before I'm out the door - actually more like check for toothpaste on the face and sleep in the eyes before I'm out the door. The boyfriend was agreeable to some of the things I found on Pinterest (of course) which had hooks on a piece of wood attached to the wall. I then went on Craigslist and BOOM!
Mirror: $40

Coat Shelving Unit: $15 (already covered in primer because I forgot to take a before picture). It was a cherrywood color.

I did have a drive a significant distance (30 minutes to 1 hour) to get these items, but they were exactly what I wanted at a decent price.
First, the mirror. I looked a few tutorials for how to paint mirrors, and these posts by The Frugal Homemaker and Life Should Cost Less seemed the most useful.


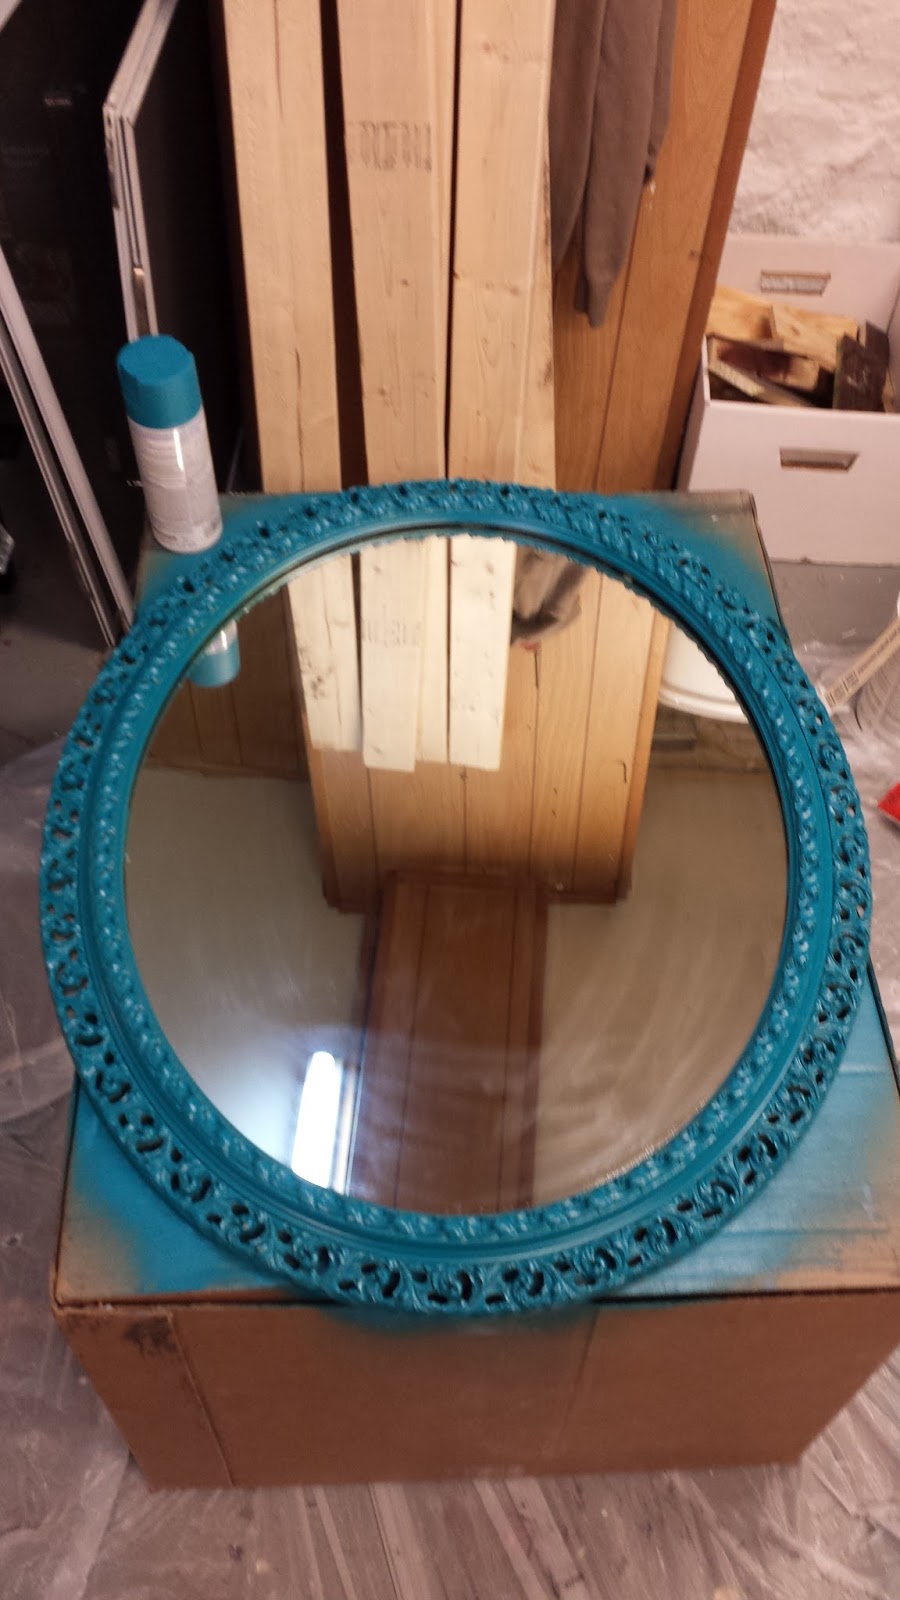
I elected to go with spray paint. Now you may remember, the living room color scheme was gray, white, and blue. We decided this with the console table, when I had to paint over its original teal/turquoise paint with the gray paint. But the living room still needed...something. It was kind of boring in a neutral neutral overused sort of way. I asked the boyfriend to...reconsider teal for the mirror.
We went with a medium teal spray paint - the boyfriend wanted a darker color but I thought it looked too hunter green instead of teal. I picked this up at Home Depot, Lagoon (had to go to another store to get the second can) but it was amazing! It didn't drip on my fingers at all. It didn't smell up the entire house. Amazing!

As the tutorials said, you can slide paper between the mirror and the frame. So I tore up a useless catalog and used it to cover the mirror.

I coated the mirror in two coats of spray paint. Used 3/4ths of a can. Did I mention this spray paint is amazing?


I let it dry for 24 hours and removed the paper. There was a slight mirror edge that got painted and some "overspray" which I was able to scrape off very gently with a screwdriver and then wipe off with Clorox wipes and Windex.


Here it is on the entire frame. Oh yeah!


Between the tray, console table, and coat rack, floor space was pretty limited by the front door. I also desperately wanted a mirror there, for vanity purposes. One last primp before I'm out the door - actually more like check for toothpaste on the face and sleep in the eyes before I'm out the door. The boyfriend was agreeable to some of the things I found on Pinterest (of course) which had hooks on a piece of wood attached to the wall. I then went on Craigslist and BOOM!
Mirror: $40

Coat Shelving Unit: $15 (already covered in primer because I forgot to take a before picture). It was a cherrywood color.

I did have a drive a significant distance (30 minutes to 1 hour) to get these items, but they were exactly what I wanted at a decent price.
First, the mirror. I looked a few tutorials for how to paint mirrors, and these posts by The Frugal Homemaker and Life Should Cost Less seemed the most useful.
I elected to go with spray paint. Now you may remember, the living room color scheme was gray, white, and blue. We decided this with the console table, when I had to paint over its original teal/turquoise paint with the gray paint. But the living room still needed...something. It was kind of boring in a neutral neutral overused sort of way. I asked the boyfriend to...reconsider teal for the mirror.
We went with a medium teal spray paint - the boyfriend wanted a darker color but I thought it looked too hunter green instead of teal. I picked this up at Home Depot, Lagoon (had to go to another store to get the second can) but it was amazing! It didn't drip on my fingers at all. It didn't smell up the entire house. Amazing!

As the tutorials said, you can slide paper between the mirror and the frame. So I tore up a useless catalog and used it to cover the mirror.

I coated the mirror in two coats of spray paint. Used 3/4ths of a can. Did I mention this spray paint is amazing?


I let it dry for 24 hours and removed the paper. There was a slight mirror edge that got painted and some "overspray" which I was able to scrape off very gently with a screwdriver and then wipe off with Clorox wipes and Windex.
I wanted some of the gold to come through for a slightly distressed look (while I love Fixer Upper, a lot of their pieces are too distressed for me), so I tried to go over the mirror. First I used sandpaper, which took off all the paint. 1 more coat of spray paint later, the boyfriend suggested trying steel wool, to take off just enough of the paint to show the goal through.
Brilliant. Here it is on just the inside part of the mirror. Too subtle.

Here it is on the entire frame. Oh yeah!

Done. Ready for hanging.

I ended up applying 3 to 4 coats of white paint to the coat shelving unit. I used a white with a satin finish, that the previous homeowners had used on the trim in the room and then left behind. We ordered these hooks off Amazon. For two people, we have a lot of coats.
Then...we hung everything up on the wall. We picked up a level with ruler, put screws on the back of the mirror and tied wire to them. The coat rack already had screw holes.
Ready for the finished product?


Finally, a pretty place to stash everything when we come in the house. It really...doesn't look like this though. We have a LOT of stuff.
The boyfriend is still adjusting to the teal mirror. I told him I would buy pillows in a darker teal to make up for it. He may have shuddered. But he loves the entryway concept. We keep looking at it from the couch and sighing deeply in satisfaction.
Until next time...