

Big news, we're moving BACK TO BALTIMORE!
No more commute. I'm so excited!
With everything going on, you'd think I'd have more time to blog, but, alas, that is not the case. The administrative part of my job has kicked into overdrive and I fear that it will only get worse when we return to in house work. So we found a house the meets our needs right now in the suburbs of Baltimore and we're moving before work picks up even more.
My father is also staying with us intermittently, so our guest room has gotten some major use. Stairs are a bit of an issue for him (and my brother) so we found a 1 story house to rent with a HUGE basement for O and I to have a bit of work/play space. It's also SUPER outdated. PROJECTS!!!
Anyway, I've been working on this wood desk for quite a while. I picked it up from someone local off Next Door for $50. I took the hubs with me to verify that the desk was whole wood and not veneer, so we didn't run into the same issues as previous projects. He verified, I triumphantly bought it, and then we got home and...


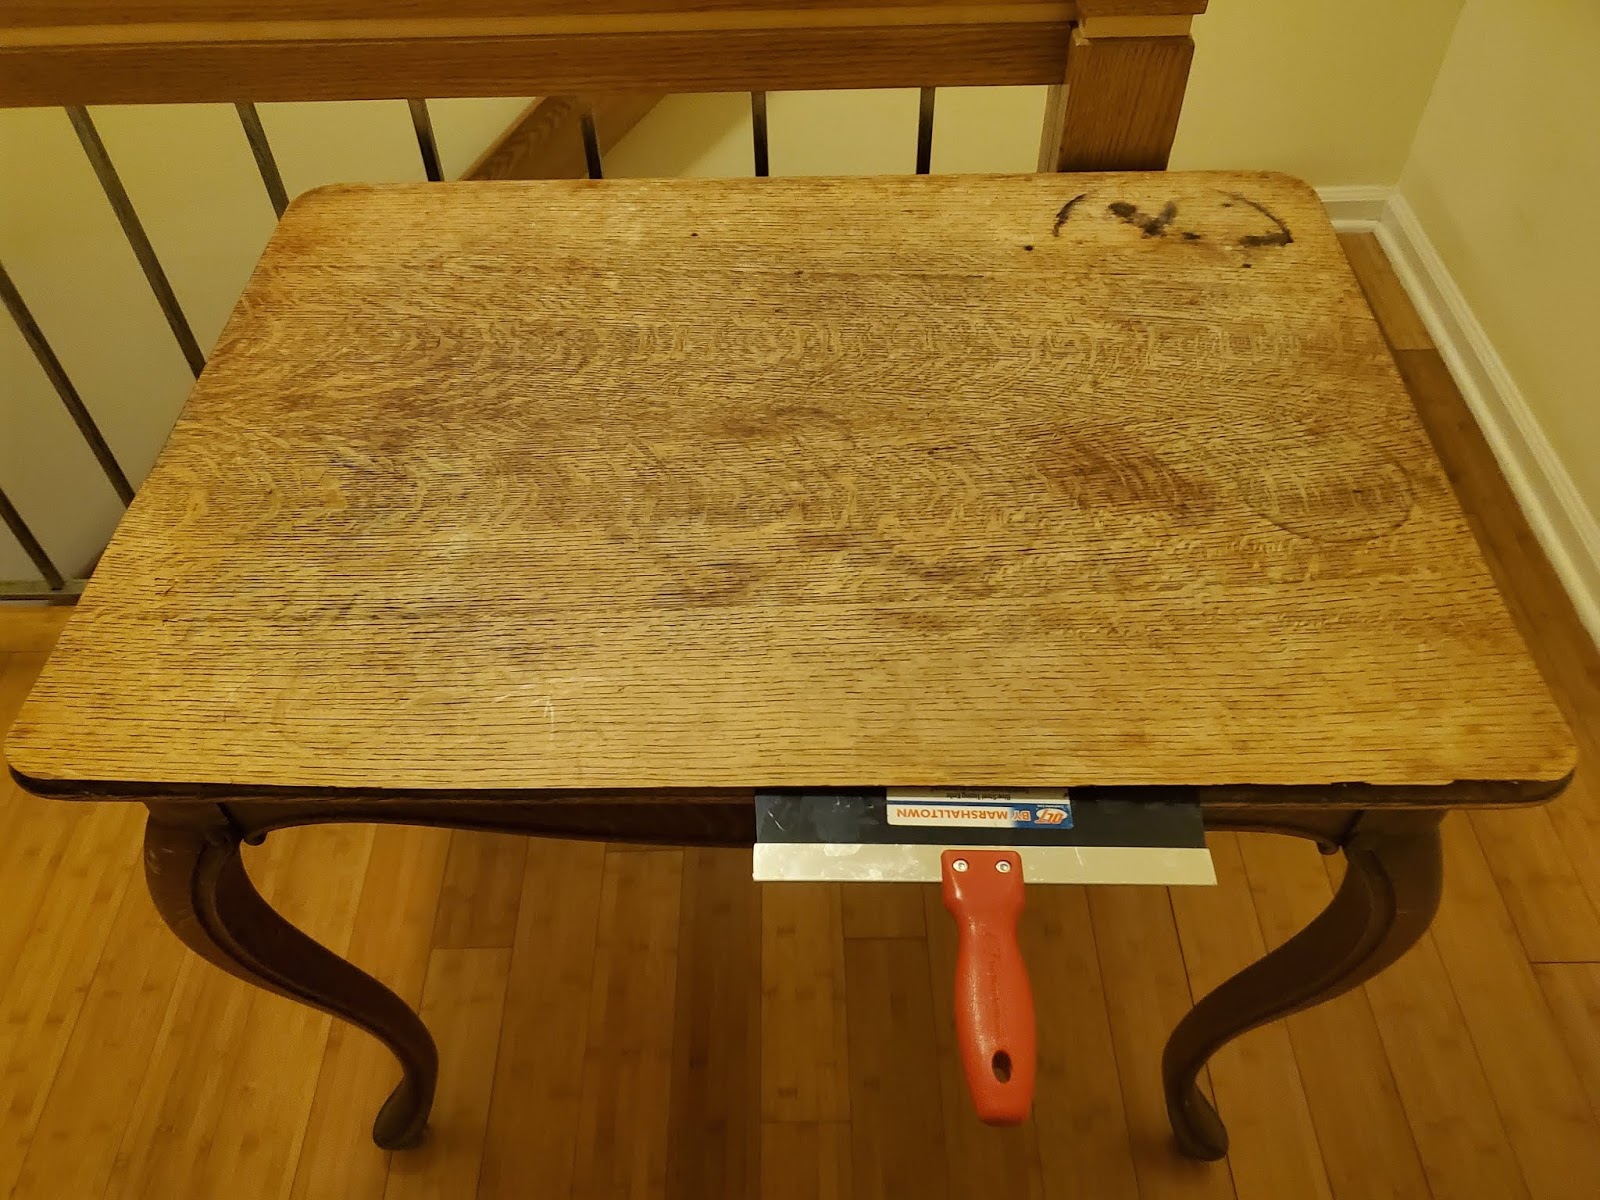

...it was totally veneer.
So after a few months of rage/avoidance/vacillation (these are the stages of DIY, my friends), I finally took another go at veneer removal.
I started with trying to pry it up. Shards of wood were everywhere. NOPE.
Next, I tried to loosen the glue with a heat gun. Once I saw burning embers within the desk, that was done. NOPE.
I did more googling, found a few tutorials to try. I sprayed it with water liberally and let it sit overnight. After 24 hours, I was able to pry up sections of it rather easily. So then I followed the next tutorial and put a wet towel over the table and used a hot iron on the most stuck down parts of the table for about 30 seconds.


This worked PERFECTLY. And my reward? Some pretty gorgeous wood underneath.


With a lot of stuck on glue. Cue my handy dandy orbit sander.


Ummm, hello gorgeous? Look at those curved legs, people!
It even stole the show on a craigslist ad I posted using it as a prop for the standing desk. So many people messaged about the wood desk I had to put a disclaimer on the ad.

So, you might be wondering why I would put a faux marble top over all that gorgeous wood? Well, I had some Pinspiration:
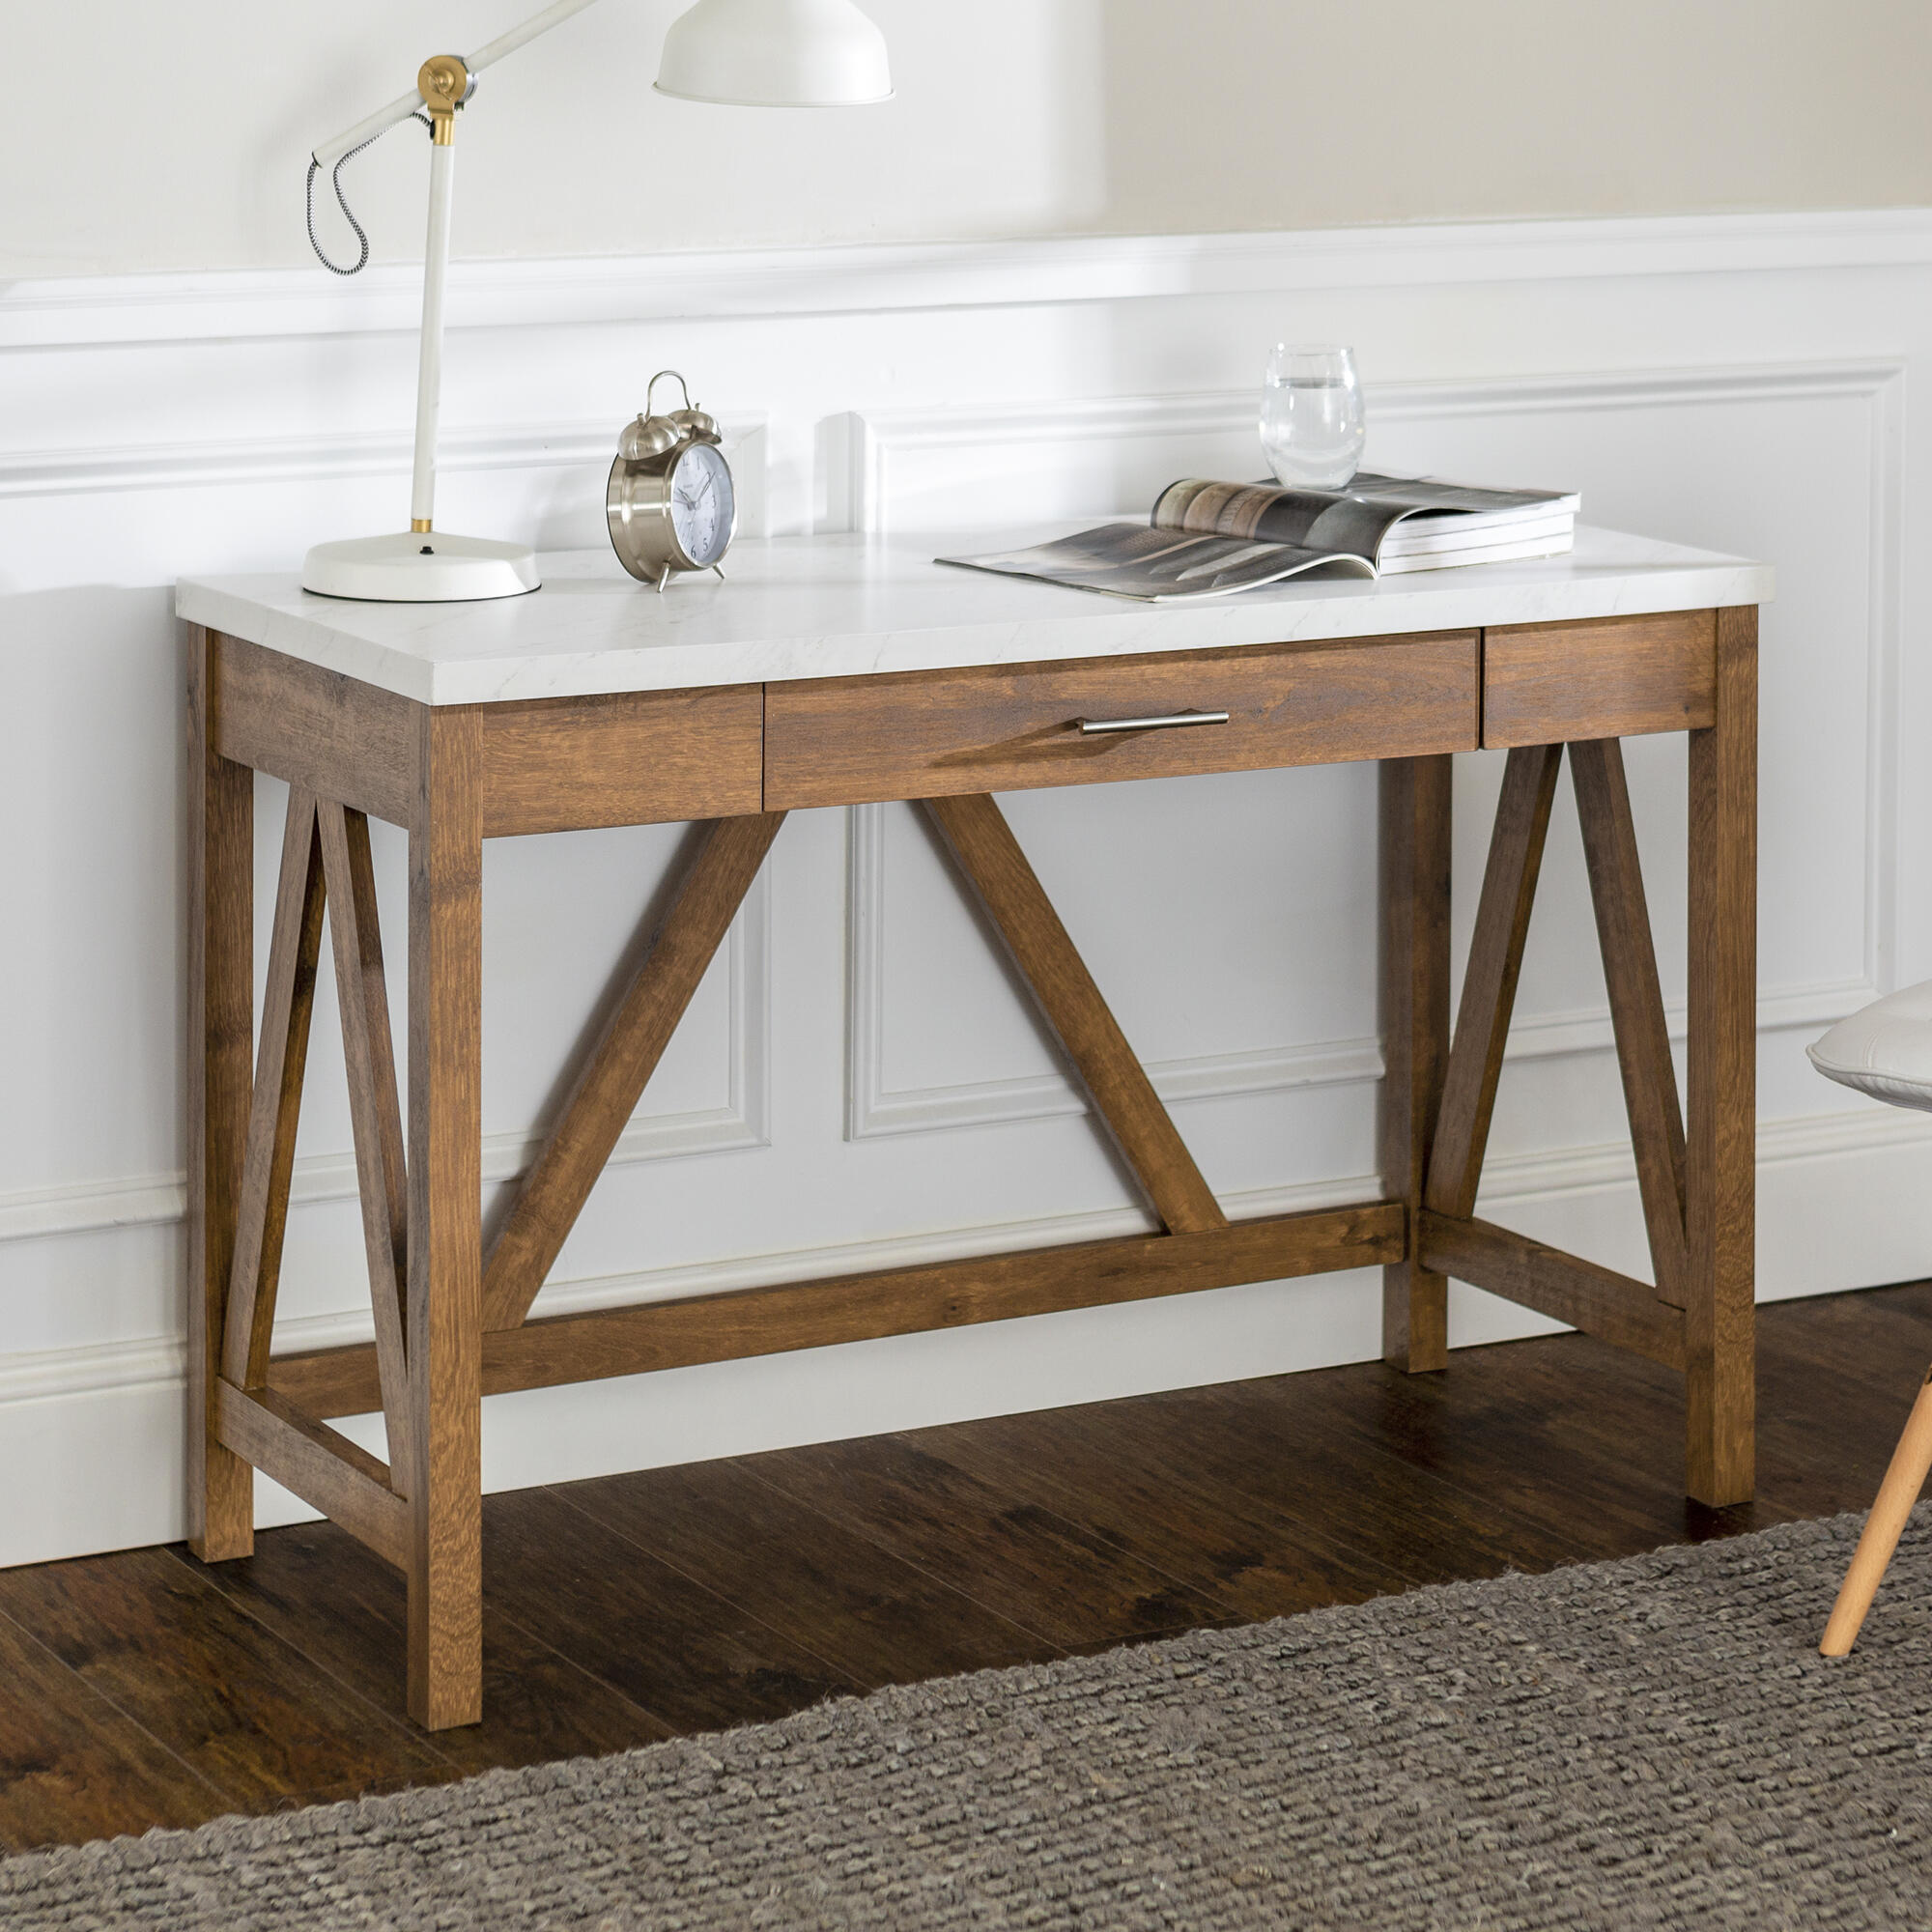

Are you feeling me yet?

This last one is a #1 Stunna.
So I'll admit it. I didn't want to cover up all that gorgeous wood. But I still wanted my marble top. Thus began my arms race to see which would look better in order to make a decision.
I did want the table to be slightly darker that when I purchased it. So I stained the legs with my go to Dark Walnut.


It looked pretty good so I continued with two coats on the top.


I continued with cutting out a similar sized top out of mdf.


Decided to go with curved edges instead of squared off in order to better see the table's details.
After that, mistakes were made.

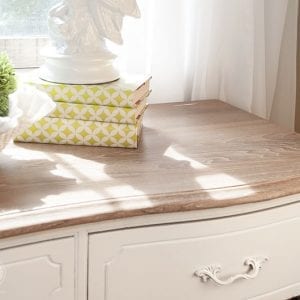
I've been trying liming wax every one in a while when I have a table with a beautiful grain on it. These two tutorials really had me convinced this table would be perfect.
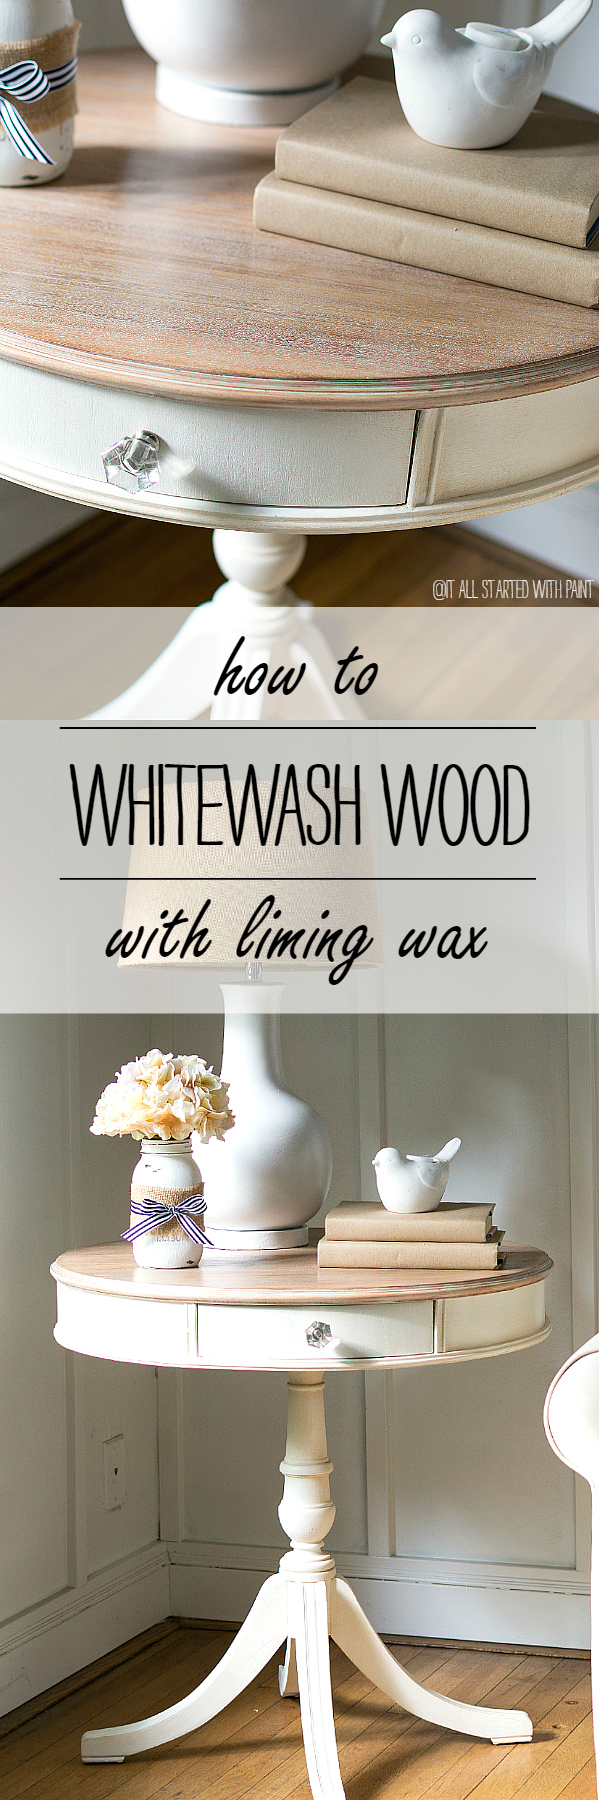
Unfortunately the hubs had really done a number on the half of the table he "de-veneered" and it was pretty beat up. And the liming wax just enhanced the lumps.

For the faux marble top, I decided the MDF needed a firmer underbelly to feel truly authentic. Enter metal sheeting...

with some slightly jagged edges that would be fine if not for the...

...vinyl contact paper. Sigh.


Looks really good, right? Until you get a close up on those curved edges...

Bubbles and rips and tears (and tears!) oh my.
Back to square one:
Sanding and Restaining the wood top back to its former glory.


New mdf, no metal sheeting, watched a great tutorial on curved edges with vinyl contact paper about 5 million times while waiting for the new vinyl contact paper to arrive.
And then took my time with the heat gun nudging it ever so slightly towards perfection....


The new vinyl was darker in places than the original, making it look more like a granite than a marble, but it was the look I wanted.
So the problem now is that I wanted both options. A pretty durable wood top to use for a desk and a faux marble top if I wanted to use it as eye candy. Cause I'm really not going to do anything major on this top after all of the above.
I hemmed and hawed for a few days, and then inspiration struck.
And they came with perfectly size sticky pads. Winning!
First I made sure the magnets would communicate with each other through the wood table. No problems here.

Then I just stuck them underneath the table, lined up the magnets back of the mdf faux marble top and voila! a wood table with a wood and faux marble top. That perfectly sets into place when you lift it up.


Those edges. We've come a long way.
Anyway, no pretty pictures of this desk ready for prime time yet. Because moving means boxes everywhere.
I already sold the kitchen island. Sniff sniff. To a woman who LOVED it for her newly renovated kitchen. That made it slightly better. But there was no room for it in the new house.
Stay tuned. I'll show some sneak peaks of the new place on the 'gram.
E