Search This Blog

Wednesday, August 2, 2017

DIY Invitations


Hi everyone,

We did some beautiful save the dates using Vistaprint that I loved!

It even came with free envelopes.  But after postage, we still spent a lot more than we wanted to spend.  I knew I wanted to do something different for the invitations, specifically weighted linen paper, glitter belly bands and monogram squares, and prettier envelopes.  To keep it within budget, I knew we would have to DIY.  The fiance was on board.

I found www.paperandmore.com, a website selling DIY parts of invitations, specifically weighted linen cardstock, belly bands, monogrammed squares, and envelopes.  We were able to order samples of everything and then do practice runs with the samples.

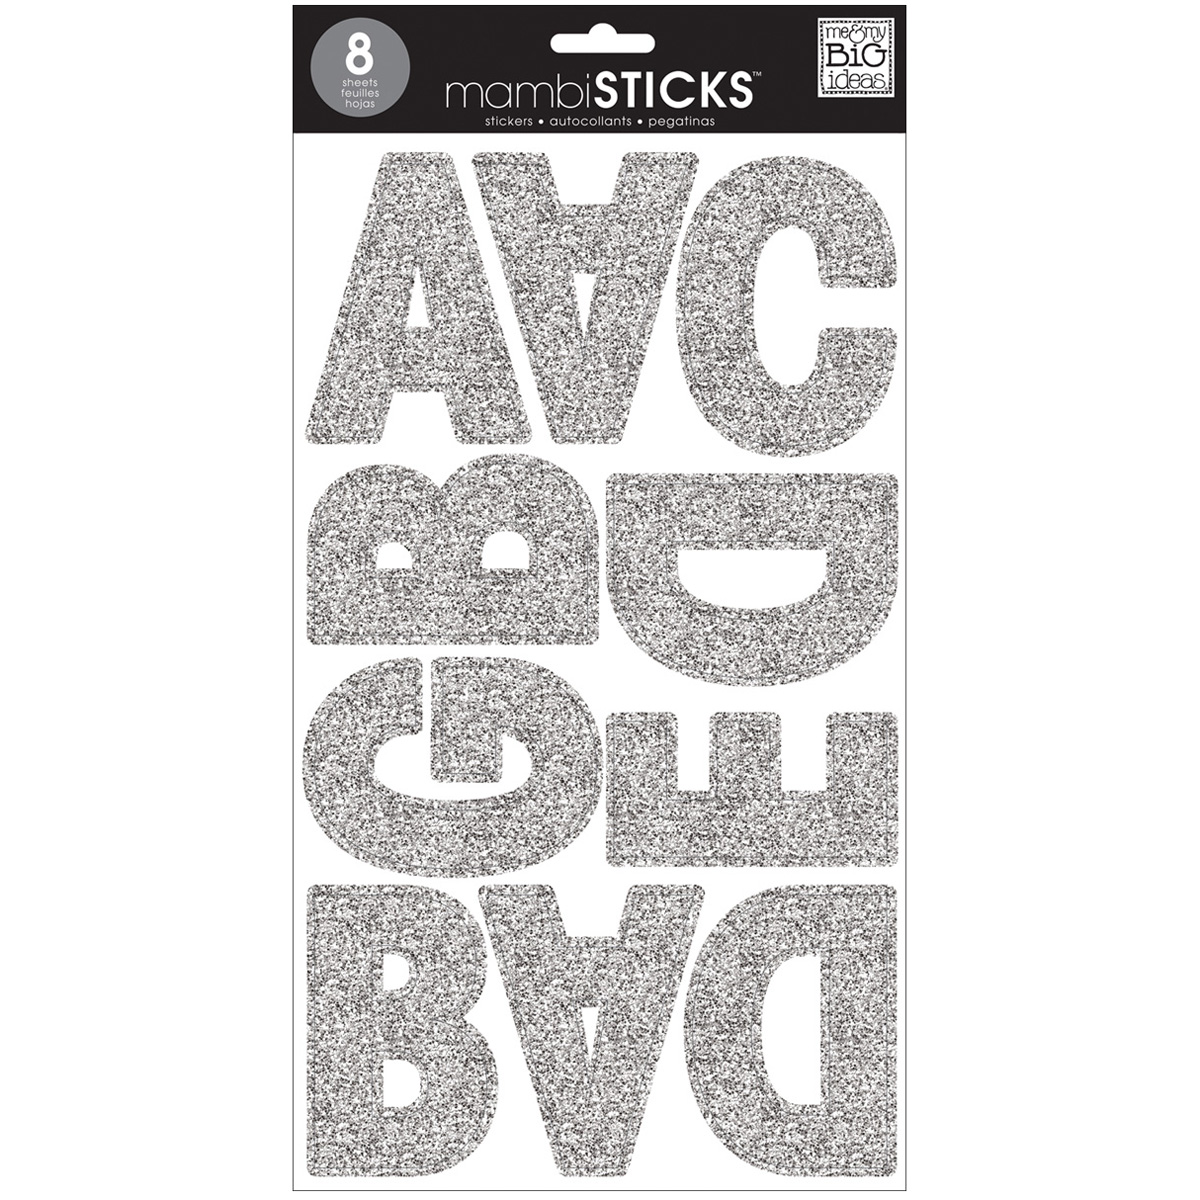
We came up with our own design on Microsoft word (after looking at and rejecting a bunch of templates online) and changed it to a jpeg for printing.  We used generic wording with a few tweaks.  I used a laser jet printer to print the invitations and set it to the setting for heavy cardstock.  Then the fiance and I compromised on a little less glitter in exchange for metallic envelopes and belly bands (his idea).

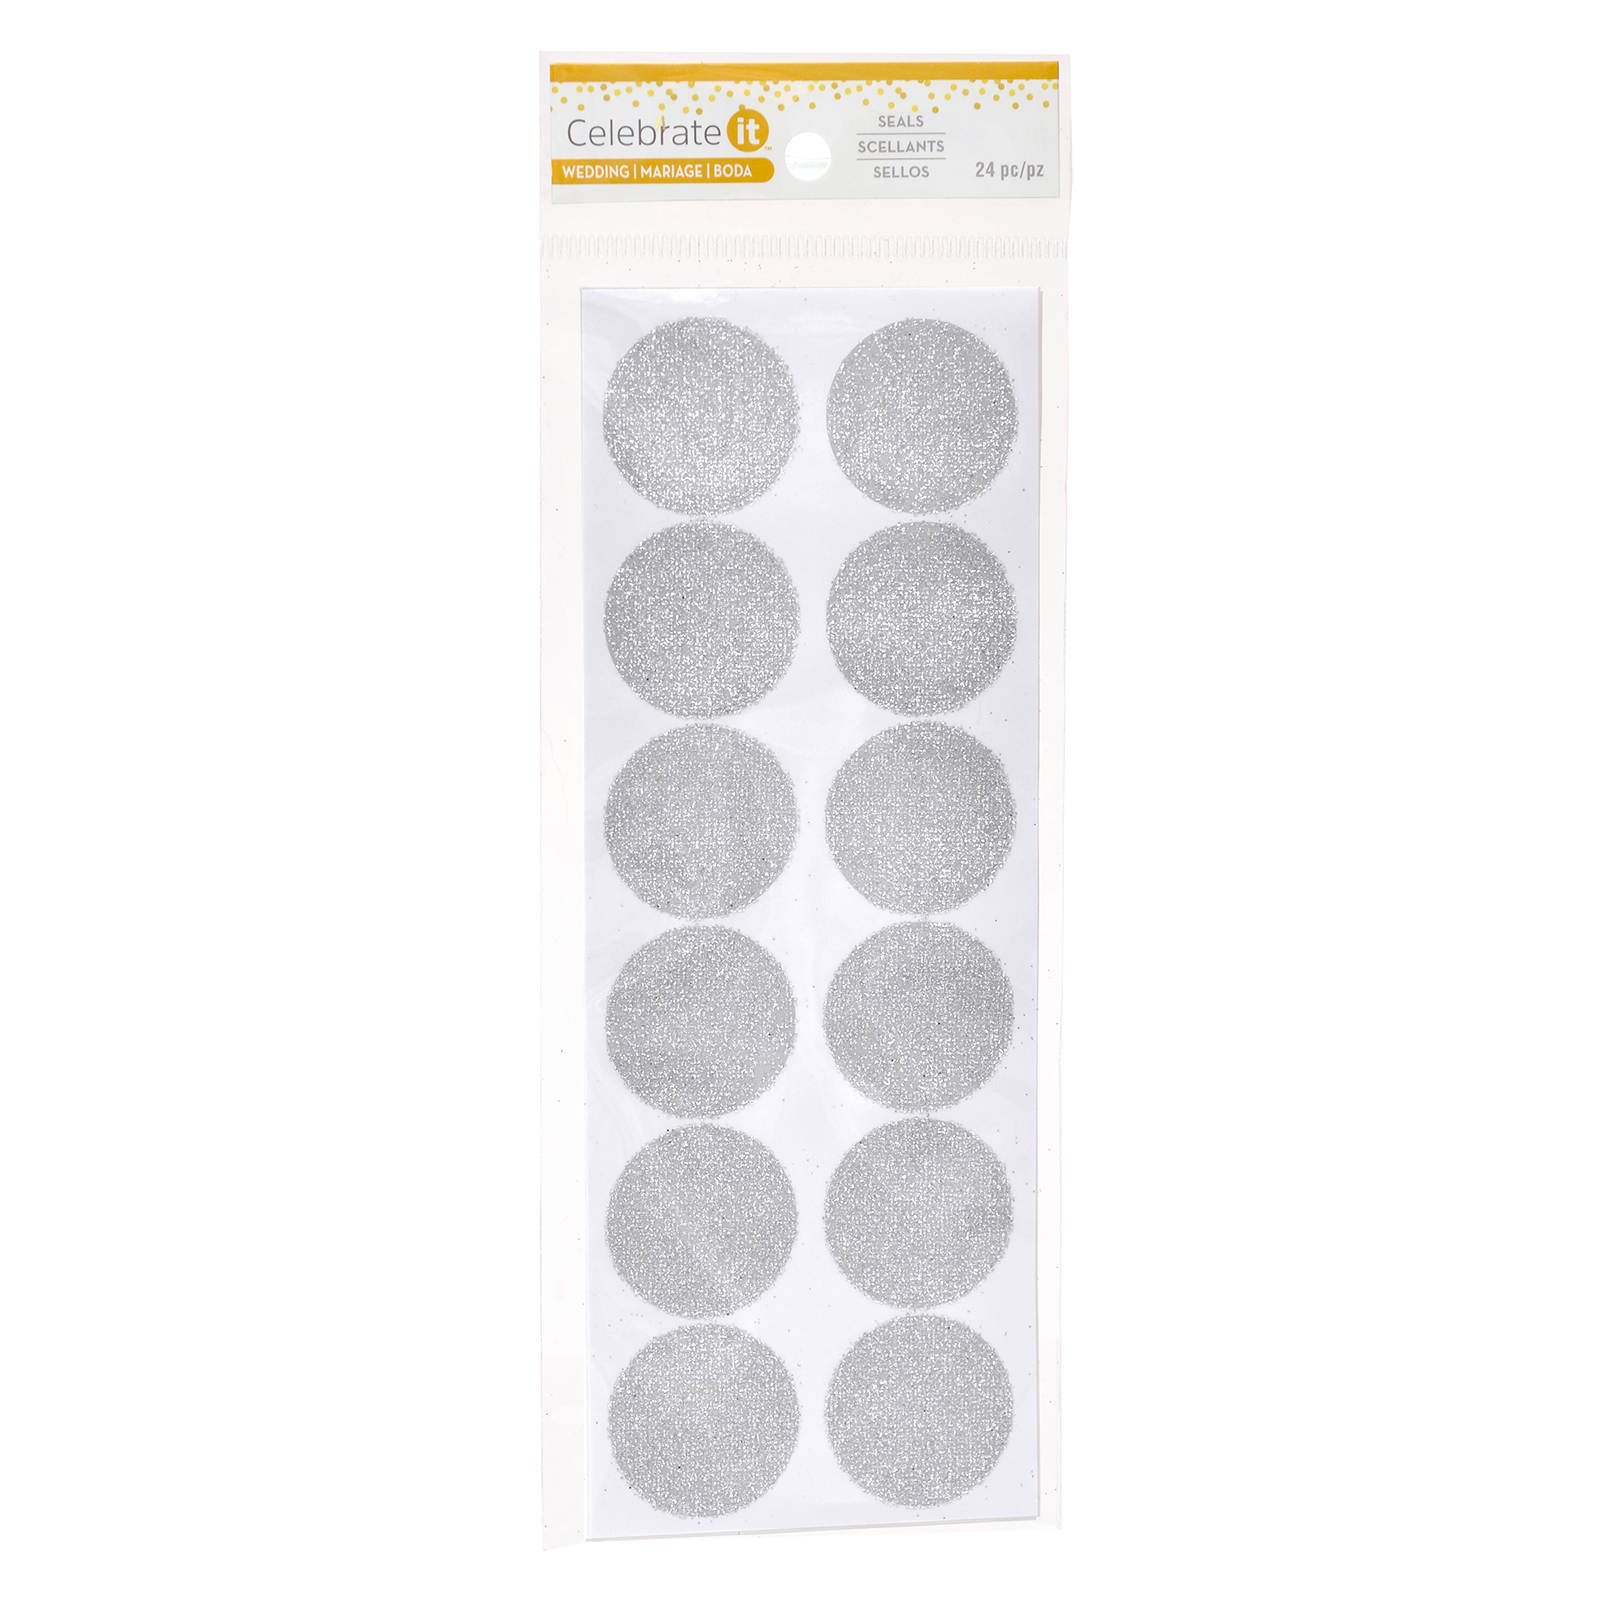
We did have to use envelope labels as the envelopes were too dark to write on.  I still wanted more glitter and the fiance wanted something similar to a wax seal, so we found these glitter envelope seals for CHEAP at Michaels.  Then the fiance made a custom stamp with our logo (a little blood, a lot of sweat, a few tears) and voila!

http://www.michaels.com/silver-glitter-envelope-seals-by-celebrate-it/10509858.html?mkwid=sNHTVLdIg|pcrid|202074780869|pkw||pmt||pdv|c|prd|10509858&cm_mmc=zadv_PLASearch-_-google-_-Kids-RLSA-_-Kids-Art-RLSA&utm_source=google&utm_term=&utm_campaign=Kids-RLSA&utm_medium=cpc&utm_content=sNHTVLdIg|pcrid|202074780869|pkw||pmt||pdv|c|prd|10509858&gclid=CjwKCAjw8IXMBRB8EiwAg9fgMD90YmSY1ofVe_kFSOxZF1xh3YH-9VQAX3rvgx2qD51ARPoOYkJYcRoCNuMQAvD_BwE

I took them to the post office to be weighed.  We had included reply envelopes in some of the invites for older relatives, but had everyone else rsvp on the website.  The reply envelopes required additional payment but the other ones only warranted the 0.70 stamp due to their size.  I even found matching blue butterfly stamps at the post office.  Score!

I've been told they are very classy with just the right amount of glitter.

End Result:


Table number holders


Hi everyone,

Another wedding post.  You were warned this topic would take over the blog previously.

I have been working hard on the table centerpieces.  I have already bought lanterns (various colors: white, grey, blue, brown) and my future mother in law found multiple vases of different types at various Goodwill stores that I will spray paint using a mercury glass technique.  The vases will be filled with white and blue hydrangeas and babies breath.  I also bought plastic pumpkins which I spray painted white and silver.

Here is a picture of lanterns similar to what I am using and my pinterest inspiration for the pumpkins.

Image result for white wood lantern           For an autumn wedding miniature ghost pumpkins can become downright glamorous with a touch of gold spray paint.          75 Rustic Fall Wedding Ideas You’ll Love | HappyWedd.com #PinoftheDay #rustic…


Anyway, after all of these items, I was seriously close to the decor budget limit (which was later imploded by the other decor needed) and needed to skimp on table numbers.  I had already pinterested and fallen in love with these numbers.

We are obsessed with these 17 glitter wedding ideas! With crazy amounts of glitter, comes crazy amounts of DIY glitter crafting ideas perfect for your wedding!


But there were seriously over budget.  Even the wooden version that I could add sparkle myself to was still expensive.  DIY time!

I found this great tutorial on pinterest for using plastic animals for table numbers.

DIY Animal Memo Holder Gifts - Sugar & Cloth - Holiday - Gift - Houston Blogger


Hmmm, don't I already have plastic pumpkins?  Boom!

I followed the above tutorial to the letter.  I ordered these alligator clips and these wooden dowels.  I did make sure the dowels would fit in the hole in the pumpkin and the ends of the alligator clips.  I still had some difficulty fitting in some of the dowels - some twisting was required.


 Once I attached all of the dowels and clips, I spray painted the dowels silver.  This technique also seemed to help keep the dowel in place.


Lastly, I found these glitter numbers on Michaels ON SALE.  DONE.  Budget saved.


 Finished product!


I cannot wait to show you the full centerpiece!

Tuesday, August 1, 2017

Ring "Security" Bearers


Hi everyone,

As mentioned, I fell down the Pinterest hole regarding cute wedding things I absolutely do not need.  Most of the things I was able to talk myself out of.  I did try to DIY a few things, many of which disastrously failed and were not worth the time, effort, or money.  For example, I tried to spray paint plastic buckets to look like metal with mottled metallic silver spray paint.  After 2 coats, it still looked weird, but decent, so I stacked them together and walked away for a few days.  When I returned, the buckets were all stuck together and the paint pulled apart when I tried to separate them.  I threw them in the trash and bought real ones for less than $2 apiece.

One of my more successful DIY was props for my ring bearers.  We are using his 2 nephews and my 1 nephew as our ring bearers.  They are a little older - ages 5 to 9 years, and weren't really enamored with the idea until I mentioned that I needed "ring security".  Then they all totally jumped on board.

I was showing my fiance's oldest nephew the Pinterest options and he decided he wanted the Etsy option below.  He has VERY specific and expensive taste.

Deluxe Ring Security Box Set - W/ Personalized Sunglasses, Security Badge…                                                                                                                                                                                 More

I decided we would need to DIY these items to save some money.

First I bought black centerpiece suitcases for $10 from www.orientaltrading.com.  Others have used plastic briefcases like the one below the suitcase as well, but I needed to be as authentic as possible to please the nephews.

          
Black Plastic (not clear) 12 x 9 1/2 x 1 1/2 - 1


Next, I bought some sticker letters from Michael's and applied them to the suitcase.  The letters below are just an example. You will want to measure the letters to make sure they will fit across the suitcase.

http://www.michaels.com/mambisticks-silver-glitter-alphabet/10242698.html?mkwid=sNHTVLdIg|pcrid|202074780869|pkw||pmt||pdv|c|prd|10242698&cm_mmc=zadv_PLASearch-_-google-_-Kids-RLSA-_-Kids-Art-RLSA&utm_source=google&utm_term=&utm_campaign=Kids-RLSA&utm_medium=cpc&utm_content=sNHTVLdIg|pcrid|202074780869|pkw||pmt||pdv|c|prd|10242698&gclid=CjwKCAjwzYDMBRA1EiwAwCv6Ji3ZZB9M0je5K_k4TzD_HlOHMLGVgBsNzeFUzYUB6ECXKrdWafsjXRoCeWMQAvD_BwE 

I also bought some sunglasses from Dollar Store and some smaller silver letters.

I used a straight edge to line everything up on the suitcase.  On the sunglasses, I placed everything as close to the curve at the bottom of the sides of the glasses and it turned out ok.

Here is the finished product.  Of note, I also added their names at the bottom of the suitcase.


I'll let you know what the nephews think!