
Hi everyone!
We had a dash to the finish to complete the guest room for our holiday guests this past weekend! One project that I had put off for too long - covering this ugly corkboard wall.


The listing photos really don't do the wall justice. Its got a horrible texture, had random nails sticking out of it that were impossible to see, and the brown rubbed off on everything. Just NO.
So I had some extra peel and stick wallpaper leftover from the bathroom and tested it on the cork wall. For MONTHS. It held up and seemed to cover the horrible texture. So I went for it.
Option 1: A little thin, but a white background to go with the existing white walls, and a nice geometric gold line. I LOVED it.

Option 2: A little thicker grass cloth looking option, but you already know I went with GOLD.


The thicker wallpaper had similar results. I didn't even take a photo.


I knew I wouldn't need all of the 3rd panel and once I hung the top of the first two panels, I measured what I needed and cut a rough edge to remove the extra fabric. Then I folded over that edge, but didn't need the paperclips down the side, and stapled again. Also, I didn't wash, iron or starch the fabric. The natural fold actually made it look like "panels" and corresponded to the halfway point on the panels, so I kept them. I'm sure I could steam out the folds later if I wanted, but it looks fine to me.


Full reveal of the guest room coming soon!!!

So I went to the option that I had been thinking about for multiple rentals but hadn't tried yet. Something that wouldn't damage the walls. Something that could cover heavy texture. Something that I could easily remove and take with me upon departure. Fabric.

I picked this teal outdoor fabric from Joann's that was on clearance at 50% off. Enough to cover an 8 x 12 wall for right at $100. That's less than half the price of all the peel and stick wallpaper, which I returned on my way home with the fabric. YUP. The key was picking an option that had enough fabric available to cover the wall. And then having the store clerk double check my math. He drew it out to confirm what I wanted and BAM, cut everything exactly right.
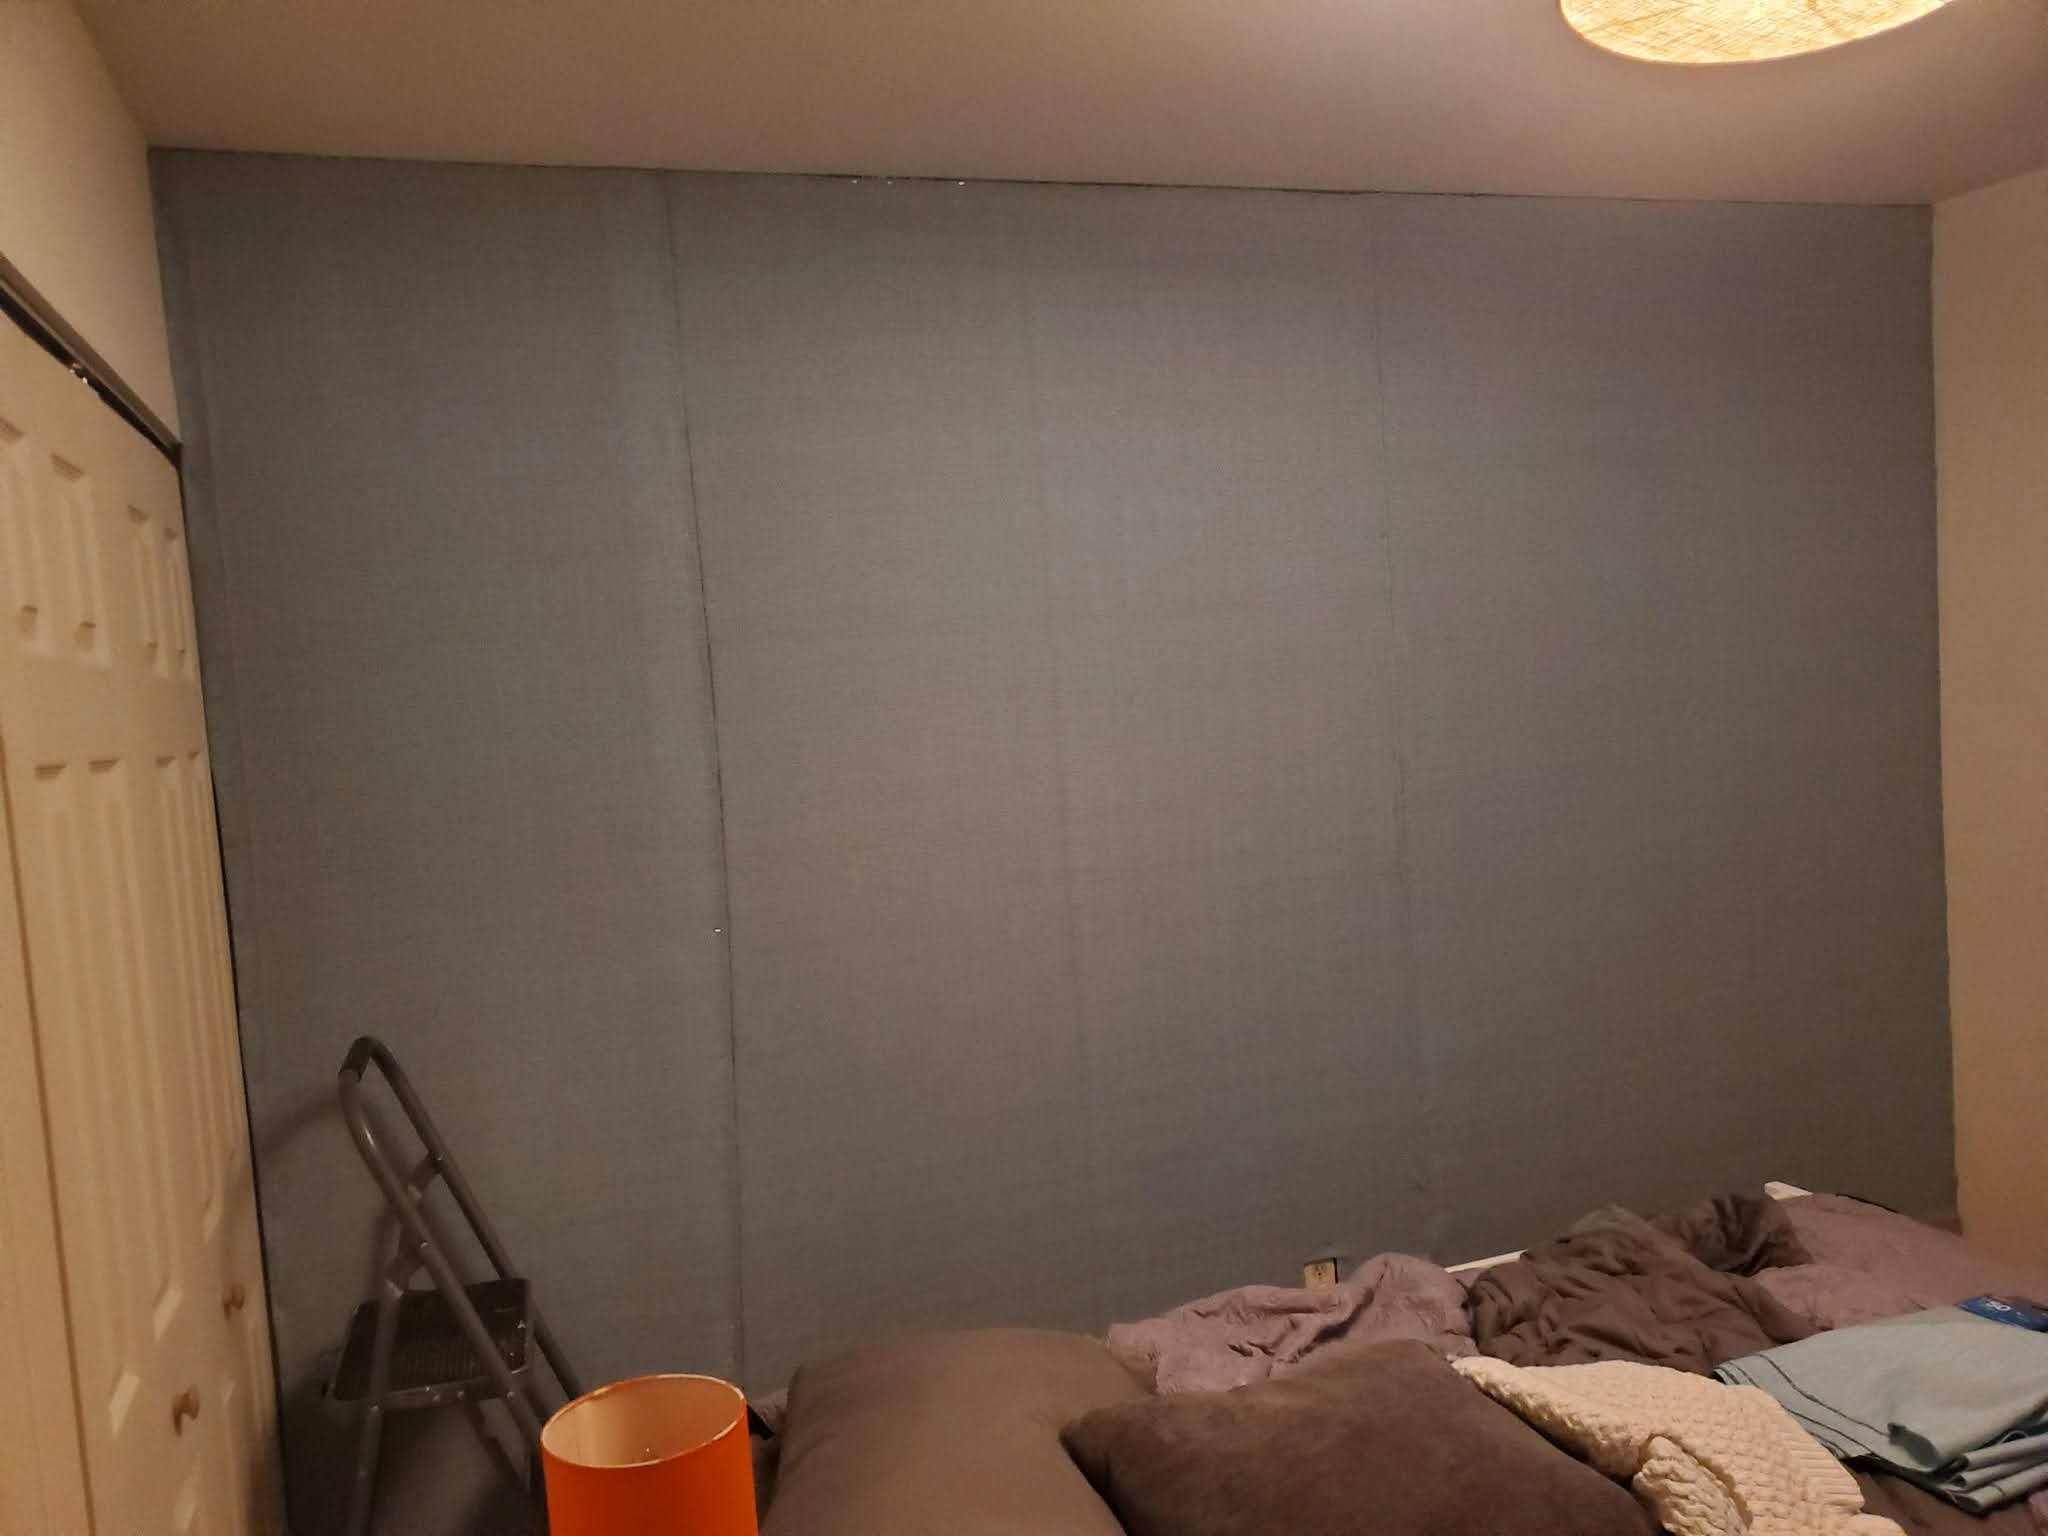
Given the width of the fabric, I bought 3 panels about 8 ft high - I had included the baseboards in my measurement so I knew I'd have a few inches to play with. I folded over the top edge and used paperclips every few inches to keep it in place and straight. Then I stapled it, using a staple gun) to the top of the wall. Best part - the cork board was so forgiving, I could remove and reposition and push back in the staple wherever I needed. SO MUCH BETTER THAN WALLPAPER.
In progress shots.


As we stapled the sides and bottoms of the panel, we pulled it taunt and smoothed it down. That's how we found all the nails unfortunately. The hubs had to help at the top and bottom - my hands weren't strong enough to use the staple gun with such a small amount of space remaining and my knees are dust. I have also started to appreciate his perfectionist tendencies and have been calling him in at the end of projects to assess and give feedback before the finish.


Look look look!!!


-E
No comments:
Post a Comment