Search This Blog

Saturday, August 31, 2019

Entryway Updates

Hi everyone,

It took a while, but I'm back with a few small projects for you to check out.  We've had a slew of family visitors this month, so I've been a little slower with the posts, but the projects have been rolling along.

First up, a small entryway update.


The hubs wanted a little more freedom to move into the living room and dining room from this small hallway leading to the kitchen.  Of course, I forgot to take pictures of everything before I moved everything and sold it.  I previously had our dining room console table from Target and the teal green mirror from the Baltimore house here, and he felt that the console table was a little too wide for the space.  He wasn't wrong, but the console table functioned as a organization station, for mail, keys, and storage.  I wasn't sure we would be able to get the function we needed from a smaller table.  Here's the mirror below, but we used a different console table with it, pictured right below that picture.  We sold both items pretty quickly on LetGo actually, which I was happy about.  But that meant it was time to find a new table.


I wanted very specific dimensions for the new table as well as a wood and metal look, similar to the previous table.  I did a lot of online shopping, but couldn't find a table that met both the dimensions and the look I needed.  So we went shopping for something custom on Etsy.

Etsy show Gokojo had EXACTLY what I was looking for in terms of look and was able to work with me on the dimensions AND the color to match some of the wood tones we already had in the room, something I totally was not expecting.  We went with the Reclaimed Wood Console Table - Lentini Design, in a custom color somewhere between slate and provincial.  I sent the shop owner pictures of the other wood items in the living room and he was able to match the wood stain from the pictures.  Truly amazing!

Gokojo Etsy Shop Image

Next, I sourced a gold mirror from LetGo for $15 - the seller was in Virginia but agreed to meet me in DC early one weekend morning.  It had a little arch and a little detail.  I touched up the spray paint with some gold from my own stock.  I had to do some touch up paint on the wall to, before adding our clock from Amazon, which changes time automatically for Daylight Savings and looks so classic.


So...right after I took these pictures, I was reviewing them and noticed how prominent the HVAC vent was in the photos.  I pointed it out to the hubs, who had also noticed, and thought it was because the previous table was so much wider that you couldn't really see the vent as easily so we never noticed it.  Let's chalk this up under "incidental design problems when you try to change small things".  

So I did a little online search and found a few Pinterest tutorials for how to cover unsightly vents.  This one by Simplicity in the South seemed to fit the bill for what I was looking for - simple and cheap.

I went to Home Depot and found the things I needed - metal decorative radiator screen, white spray paint, and wood trim.


We don't have a table saw, so I had to cut 45 degree angles on the small trim using a hand saw, which worked well once I came up with a system.  I taped off the edges of the screen, because it was pretty sharp.  I then spray painted everything white and joined everything using glue and clamps to let it dry for 24 hours.  After drying, I gave it once more round of spray paint and then added wood filler to the edges.  There are some minor imperfections but give where the screen is hanging, it looks good enough for now.  We hung it up using velcro strips so we can take it down when we leave or if work needs to be done on the HVAC.


And now the entryway is DONE!  Just in time for our last summer guest, my father and brother.  My brother has mobility issues, so the larger space in the entry was perfect for him.  We were able to move the organization station and storage items to the storage console behind the couch - hopefully will be able to show you living room pictures next time the house gets cleaned.  But I'm loving the new look of the house entry point and hope you do too!


You got a little sneak peak at the next project in this post - I finally updated our dining room mirror, my very first DIY project.  Can't wait to share that with you soon.  Happy end of summer!

E

Sunday, July 28, 2019

Outdoor spaces

Hi everyone,

June and July have been packed with vacations, deadlines, and emergency medical issues.  What a summer!

Anyway, I've been putting some pictures up on Instagram, as we've revamped the outdoor spaces in the suburban rental house.  The house is in front of a small wooded area and creek, which means lots of bugs in the back, which we're still trying to combat.

We still miss our actual front porch from the Baltimore house, as opposed to this "stand there, be covered, and fumble with your keys" area outside the front door.  Still, I wanted to add some homeyness and charm to the outside of the house and make it feel more welcoming.


I got the multi-colored welcome mat from Kohls on sale.  The black mat was leftover from the owners who had a similar smaller welcome mat on top, that was becoming weathered.  I added the boxwoods last year and the "hello" wreath earlier this year.


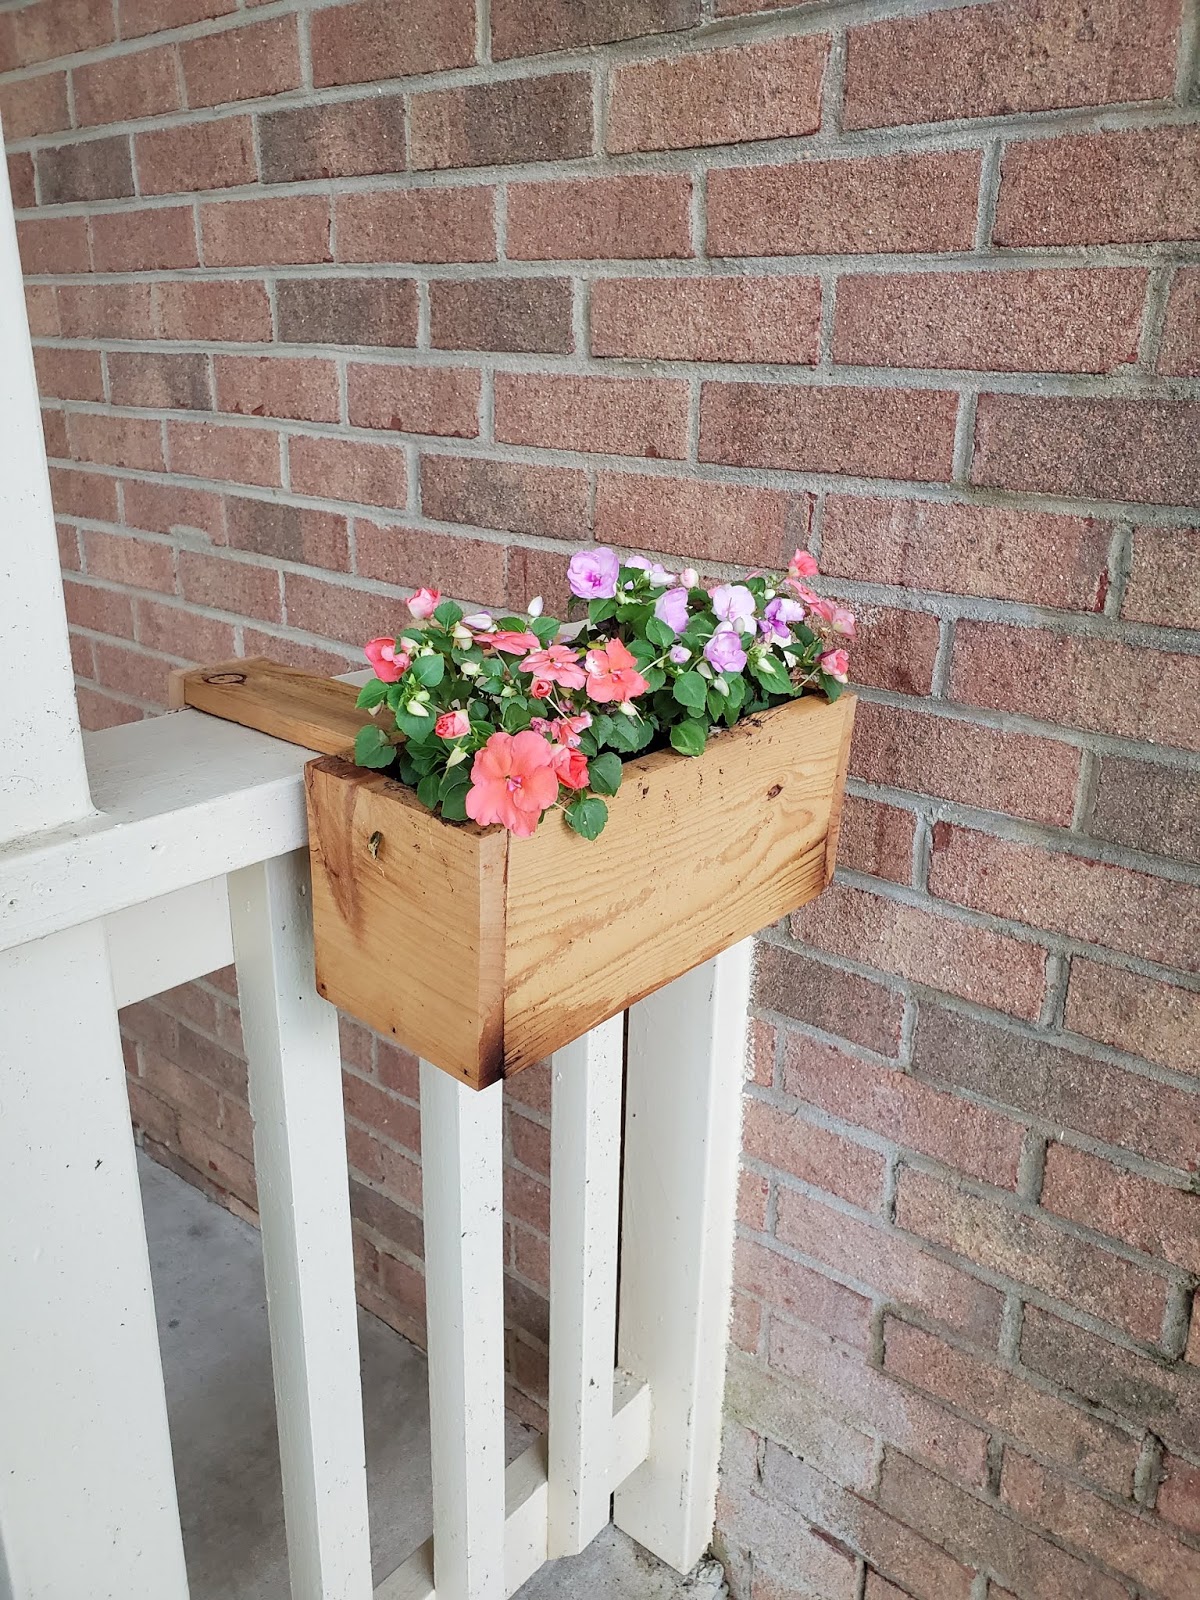
Next, I added planter boxes from Etsy.  The maker advertised "custom" sized rail hangers, but they were not the proper size and the hubs had to do some wrangling to get them to fit.  So I wouldn't recommend them and won't link there here.  


After two rounds of killing plants, I added these faux flowers from Michaels, just in time for our summer party!


On to the backyard!

I wanted some string lights and additional seating out here.  I was able to follow this tutorial from Martha Stewart with the pots coming from Michaels and the rocks and posts coming from Home Depot.  We did drill some drainage holes into the bottoms of the buckets for water drainage and sprayed the posts with some weather protectant to keep them from warping and rotting.  A lot of people on Pinterest and Instagram did concrete versions - we are renters and need to be able to move and reuse these buckets.

We next added white hooks to the top of the staff.  Then we filled the bucket about 1/3 full of rocks, put the post in place, and added rocks up to about 3/4 full.  We still felt like they were unstable and tied them with fishing string to the porch.  One of the posts is starting to lean, but the other ones seem stable.


Next, we got a BARGAIN on a huge umbrella with netting on LetGo.   And I finally gave away the white rocking chair and replaced it with another Adirondack chair from World Market.  We also got these mosquito repellents and a huge bug zapper from Amazon.  With those additions, I am only minimally getting "zoomed" by wasps and bees, but I think the mosquitos are staying away.  I would like to add some lavendar, citronella, and other repellant plants in the future.


So these are our outdoor spaces.  The lower deck is more for storage though we have our old bench set up down there for when we have people over.  I should have an entryway post coming soon and then maybe some shots of the living room as well.

Hope your summer is less eventful than ours.  Bye for now!

Sunday, May 12, 2019

Ikea kitchen cart flip

Hi everyone,


I acquired this Ikea cart over a year ago on Craigslist for about $10 and had high hopes for flipping it.  In the interim, we briefly used it as a grilling cart, with the table grill on top and various grilling materials on the shelves below.  I would really just like to upgrade our grill, but the hubs swears by his tiny table top grill, which does seem to get the job done, so we'll continue.


I had read a few Pinterest tutorials and looked at multiple pictures of other flipped carts online, including the below options:


First, I had the hubs sand down the top.  It had a little wear/tear from the previous owners, which came up no problem.  I then separated the butcher block top from the rest of the cart.  I stained it, first with two coats of Classic Grey.  It was still not evenly accepting stain so I added one coat of Dark Walnut.  Bam!


After one coat of Classic Grey...


After two coats of Classic Grey, still uneven...


With just one coat of Dark Walnut, a much more polished/finished look.

I then began painting the cart white, with my favorite paint color, Linen White.  I primed it with a coat of spray paint, but got rained out before I could spray all the nooks and crannies.  Which meant I had to paint the nooks and crannies by hand.  Over multiple days.  From multiple angles.


In the future, I will stick to spray paint, as I had to redo painting multiple times due to drips and brush marks.  It was easy to sand down and peel off the drips.  I bought new brushes, rollers, and foam brushes to use for future projects as well. 


I then put on protective coats over everything using Polycrilic, matte for the wood top and satin for the cart.  I reassembled everything and decided to add some leftover towel hooks, a new towel bar, and new wine glass racks.  I spray painted everything bronze with this spray paint so it would all match.


Finished result: